Beginner's Guide: EQ
In the latest edition of our new series exploring the basics of music production, E.M.M.A. tackles when and how to use EQ in your mix
The DJs reading this will have a strategic advantage here. It’s an extension of the same knob-twisting deployed for a clean transition when two basslines are jostling for position. A common goal exists: to avoid the bass and kick sounding like an elephant in clogs.
Firstly, special mixing headphones or monitors are a must to know what you’re dealing with. Our ears can hear a range of frequencies from around 20Hz to 20kHz. Every sound takes up its own space in that range — although lower sub-bass is felt more than heard.
Each instrument in your track will have low, mid or high frequencies (worth looking up the seven EQ bands). While they may sound great separately, sometimes when played together ‘masking’ happens. We’ve all been there — nothing sounds clear; the kick-drum is now missing presumed dead and the vocals lack presence no matter how many times you fiddle with them.
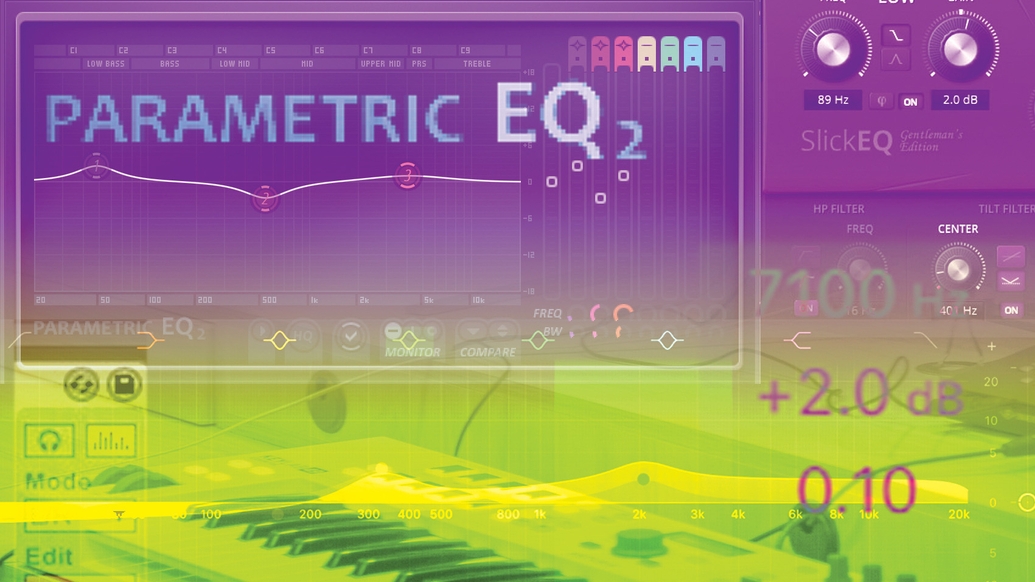
EQing addresses this by sculpting and balancing the frequencies of each component of your track. When cutting unwanted frequencies and boosting others at key points, we’re increasing clarity and avoiding a muddy low-mid region, or tinny ‘shrill’ top end. There are several types of EQ designed to give you forensic control. I mostly use the FL Studio parametric EQ (and have stuck with it for over a decade), whether I am boosting to add some top-end sparkle, or addressing a bass/ kick conflict. All the major DAWs have one.
"Over the years I’ve come to realise that EQ should fulfil a creative or quality-driven function, and be used sparingly"
The narrower the range of frequencies you are sculpting, the more ‘surgical’ the effect. Remember, we want to sound natural, so take a gentle approach. I always say I don’t want my tune to sound like it was made in an operating theatre. Changing the EQ can also make instruments quieter, so there is an inbuilt gain control to tweak too.
Experiment with ‘low-pass’ or ‘high-pass’ filters. These cut the opposite frequencies to their name (helpful!). I am a big fan of a low-pass filter. When automated it gradually reveals more of the higher frequencies, which sounds like your synth is emerging from underwater. Producer pal Dexplicit suggests using a high-pass filter on vocals to make sure no rogue frequencies from home studio set-ups enter the mix.
It’s important to figure out what the end goal of the EQ is. If you’re making dance music, keep it simple. Practice EQing a kick and bass; boosting one and cutting another to see if you can find the sweet spot for both. Sometimes I love a snare so much I’ll construct the mix around that, leaving as much body to it as I can.
Mastering engineers also use EQ. With more experience, their ears may pick up on something you missed, or simply the need to add a cohesive warmth to a group of tracks. The principles are the same whether you are mixing instruments, or they are adding a final round of quality control.
If you are working with good raw materials, you shouldn’t need it as a corrective tool — but it can be useful to remove an analogue hiss or extra boomy bass. Over the years I’ve come to realise that EQ should fulfil a creative or quality-driven function, and be used sparingly.
