How to stream your DJ sets from your phone and laptop
We show you how to stream your DJ sets – with high quality audio – using your phone and computer
While live streaming DJs is nothing new – we've been doing it since 2013 — as the world goes on lockdown more and more DJs are opting to stream from their home studios and setups to engage their fans, pass the time and generate some much needed good vibes. While there might be something of a streaming overload right now, there's always room for more creative approach and, once the coronavirus pandemic passes, you'll know exactly how to stream your DJ sets for free.
In this feature, we've outlined three different ways to stream: directly from your phone using clean audio from the mixer/controller, on your computer using your built-in webcam, and using your smartphone as a wireless webcam, as a roaming second cam, or, as a mounted main shot. To keep it as simple as possible, we haven't dived into the more creative side of OBS, but once you get to grips with the basics, adding gifs, logos, and any other videos and image assets is easy. Read on to get started, and have fun! And make sure you follow DJ Mag's platforms, including YouTube, Facebook and Twitch. If you're already past the beginner stage, check out our article on 5 Ways to Make Your Livestream DJ Set Stand Out.
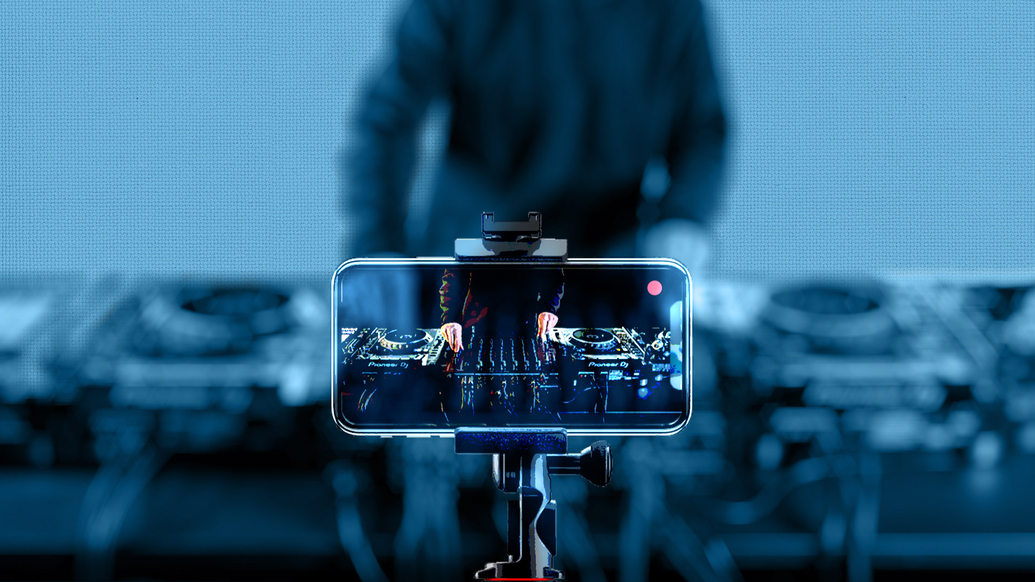
As you might have guessed, this is the most basic and cheap way to live stream your DJ sets. Chances are you’ve already live streamed in some capacity before, using just your phone and any one of the many live streaming platforms including Instagram Live, FB Live, Periscope etc. We’ve also got to the point where most smartphone cameras are actually better than cheap USB cameras so it’s probably a better option, if you’re only after one camera angle.
If you’re on a serious budget, i.e. none at all, streaming a DJ set won’t be too different to going live on any of these platforms, apart from a few key steps to follow.
The one thing you will want to ensure is that you have some kind of stand or tripod for your phone or tablet. Not only does it make it easier to get a good angle for your performance, keeping the iPhone still makes the quality better as the video only compresses what’s different from frame to frame, rather than the whole ‘shot’ itself, if the phone’s moving around.
Another thing to bear in mind is lighting — depending on your smartphone, it might perform well in low light, but most start to get pretty grainy quite quickly. While we’re not too concerned about quality, it’s still a good idea to introduce some lighting props — even a cheap disco light that you can pick up for under £10 would make a difference.
HOW TO GET CLEAN AUDIO ON YOUR PHONE
Finally, and most importantly: sound. While you can go live using your built-in mic — and many artists have and do — it’s obviously better to try and get a direct feed from your mixer or controller. This is where you might have to spend some money. Both iOS and Android are compatible with Class Compliant USB soundcards — that means any that don’t require their own drivers, which is most modern interfaces, so if you already have one for music-making, you could use that. Alternatively, a very popular solution is Behringer’s UCA222, which is around £20 and offers a single RCA input (and output).
If you did want to plug in a soundcard, you’ll also need a USB to smartphone adaptor. Depending on whether you’re on iOS or Android, they range from about £6 to £35. Some interfaces, such as the Røde SC6L, are built specifically for mobile devices so will plug straight in, but obviously will cost more than the adaptors, so depends on your budget. Evermix's Mixbox 2 is a device made specifically for recording DJ sets on your smartphone, so is perfect for the job, but will set you back around £120. it comes with an app for recording mixes though so can double up as a dictaphone.
Alternatively, if you’ve got a headphone port on your phone or tablet, you can use a cable like this to ‘trick’ it into thinking you’ve plugged in a headset mic. It’ll then let you plug in any 3.5mm cable (normal headphone size) from your mixer or controller as an input. This will also work through a Lightening to headphone jack adaptor but bear in mind, microphones are mono so the music will be summed to mono too.
However, if you decide to use this type of cable, you’ll need to be careful with your levels, otherwise, the signal will distort as the phone will be expecting a microphone input and will boost the level accordingly. The easiest fix is an attenuator from Fentronix, which you can find on eBay for about £8. So it’s a convoluted but affordable way to get direct audio into your phone for about £20.
STREAMING PLATFORM
Once you’ve got your device mounted, sound running into your phone or tablet either through your mic, soundcard or cable, and you’ve got your fun lights from Argos spinning around in the background, you’re ready to go live. Whichever platform you choose is up to you, and there are many guides out there for which to choose including a recent comprehensive one from Brooklyn-based writer Cherie Hu. Depending on your goal — fan funding, fan building, fan interaction or just a bit of fun — all the info you need can be found there, though it’s most likely you’ll be streaming to FB Live, YouTube and/or Twitch.
If you’re feeling brave and want to stream to multiple places at the same time, Restream.io will let you stream to up 30+ different platforms simultaneously for free. There are also handy features like analytics and streaming views that are amalgamated from all the platforms you choose to stream on.


If you want a bit more control over how you’re streaming, including adding logos or any other assets, as well as creating picture-in-picture setups, multiple audio sources and so on, you’re going to need to use a computer. There are a few options when it comes to software, but as we’re aiming for as close to free as possible in this feature, so we recommend using Open Broadcast System (OBS) — if you did want to make your life a little easier, Wirecast is the industry standard for streaming DJ sets and it’s what we use at DJ Mag.
OBS is extremely popular, largely because it’s free, especially among Twitch users and gamers. It’s simple, effective, and has definitely got more intuitive in recent years as its popularity grew. There are endless tutorials out there on how it works and how to do all kinds of crazy stuff, so we’ll just keep it to the basics to get you up and running.
Download OBS for free here. When you open the software, you’ll be greeted with a Setup Wizard to get you started. First of all select ‘Optimise for streaming’ — OBS can also be used as a screen capture tool but for now we just want to stream. Next select your Canvas size — this is kind of like the canvas in Photoshop, the base where you place all your assets, cameras etc. The power of your computer (higher resolution will need more graphics power), your internet speed and where you’re streaming to will dictate the resolution size. It’s worth bearing in mind that while FB Live will downscale to 1080x720, YouTube will stream at 1920x1080, so if most of your audience is on FB there’s no real reason to stream at 1080. Similarly, 30 frames per second (fps) is fine too. Alternatively, OBS will do a test of your computer to give you optimal settings to avoid buffering, so if you're unclear how much your computer can handle, you can stick to these recommended settings.
Next, you’ll be asked to enter the Stream Service and Stream Key. The Stream Key is your unique code that links OBS to your Facebook page, YouTube account etc. If someone else has your stream key, they can stream to your account, so keep it safe. You can generate a Stream key for Facebook for example by going here. For YouTube you’ll need to go here. Alternatively, you can use Restream.io to stream to multiple places at the same time.
If you’re not ready to stream just yet, just hit Cancel and you can set-up your cameras etc, without going live.


The OBS Canvas works very simply. Sources refer to everything from webcams, screen capture, image and video assets, text, etc etc — anything that you display on screen — and Scenes are essentially a collection of sources you can fade between easily. For example, Scene one might be ‘The Stream will Start Soon’ graphic with no audio input (we’ll come back to audio). Scene two can be the stream itself, with cameras, audio, logos, whatever you want to use, and Scene three could be a ‘Thanks for Watching!’ message, or an invitation to subscribe and so on. It’s a slightly more professional way to do things, but using multiple Scenes is by no means mandatory, but that’s a basic explanation of how it works.
The basic OBS open screen is one scene and no sources. Sources are where you add your cameras, audio and any other specific assets you want to use. For the sake of this tutorial, and to make it as cheap as possible, let’s stick to one camera you most likely already have: your webcam. Most MacBooks come with a built-in webcam, called FaceTime HD camera, and most PC laptops come with a built-in webcam too. These can be used as your one and only camera and, as long as the lighting is good, they’ll do the job well.
To add a camera to OBS, click the + button under Sources and select ‘Video Capture Device’. Give it a name like ‘Webcam’, and click Next. Select the camera from a drop-down menu — on a Mac it’s called ‘FaceTime HD Camera’. You can leave the resolution at Default and when you press OK, you’ll see the camera appear on the Canvas. Depending on the Canvas resolution it may or may not fit, but you can use the red transform points to resize the camera source. If you want to crop out parts of the shot simply hold Alt, click on the transform points and drag.

CONFIGURING AUDIO IN OBS
Once you’ve got your single cam shot looking the way you want, it’s time to add some audio to your stream. Click the + button and select ‘Audio Input Capture’ to add an audio device. From here you can select your built-in mic, if you’re not using an audio interface, as we mentioned above.
Alternatively, on a Mac, the sound output port can also be used as an input port so you can plug a 3.5mm (headphone) jack straight in from your mixer or controller. To use it as an input, go to Preferences and Sound, and click the Input tab. Under ‘Use audio port for’ change it to ‘Input’. If you’re not a Mac user, simply plug the cable into your Audio In port. Now you can add it as a ‘Audio Input Device’ in OBS.
If you have plugged in a USB soundcard, it will automatically appear in the drop down menu, so select it and you’re ready to go.
ROUTING AUDIO FROM YOUR DJ SOFTWARE
If you’re using DJ software like Traktor, rekordbox dj, VirtualDJ 2020 etc, and you can’t route the outputs of your controller into your soundcard, you’ll need to re-route the audio into OSB internally. Unfortunately on macOS, OBS doesn’t automatically route the audio from certain apps, you’ll need a third-party software to do this. OBS officially recommends iShowU Audio Capture, and has a guide to setting it up here.
Once you’ve got either your line in, USB soundcard, or aggregate device ready, play some audio from your source and you’ll see the green metering in OBS become active. Now you’ve got your single camera and audio working, you’re ready to go live. Scroll down to the Going Live section if you’re happy with this setup.
However, if you want to use your iOS device as a second wireless camera, for free, read on.


Another way to add extra value to your stream without spending a penny is by using your smartphone as a second wireless camera. It sounds fancy, but it’s actually very easy and is simple to configure with OBS.
All you need to do is download the iOS app EpocCam. If you’re on Android an app called IPWebcam will let you do the same thing, albeit with a lot more complex setup. We’re gonna stick with EpocCam for this tutorial. Download the app for free and go to their website to get the macOS drivers. Restart your Mac once installed and restart OBS.
Adding a second camera in OBS means adding a second Scene. As we mentioned, a Scene is essentially a collection of Sources.
Now when you add a ‘Video Capture Device’ in OBS, you’ll see EpocCam as an option. Assuming the app is also running on your phone, your device’s camera will now appear on screen. Resize it to your preference. It can be used as a second wireless camera for roaming or as another mounted camera. Expect more latency with the wireless cam so some of the movements may be out of sync. There are some restrictions on the free version of EpocCam but it's totally usable for this situation. If you like what you see, the full version costs $7.99 — a fairly good price to add an extra camera to your set-up.
Finally, you can cut between Scenes using either the mouse or Hot Keys in OBS’s preferences.
GOING LIVE
Once you’ve got your camera sources set up, your audio playing and your stream key ready, it’s time to go live. Most platforms won’t actually immediately go live once you hit ‘Start Streaming’ in OBS. They’ll usually wait for a signal and preview what’s being sent from OBS in the backend of the platform so you can check it’s working and make sure the shot is what you expect. If you like what you see, you can then go live from the browser. There's around a 30-second delay so be don't be surprised if you don't see something initially — this is where having an intro Scene can help ease the transition into your stream.
And that's it! You are now live and streaming to the world!
Disclaimer: every platform deals with the performance of copyrighted material — of which there will likely be a lot in your DJ set — differently, so it's up to you to research the penalties and loopholes, if they exist. As we mentioned in the intro, once you know the basics, you can dive deeper into what's possible with OBS. It supports many different file types like gifs, MP4s and jpgs so get creative. And of course, have fun with it.

